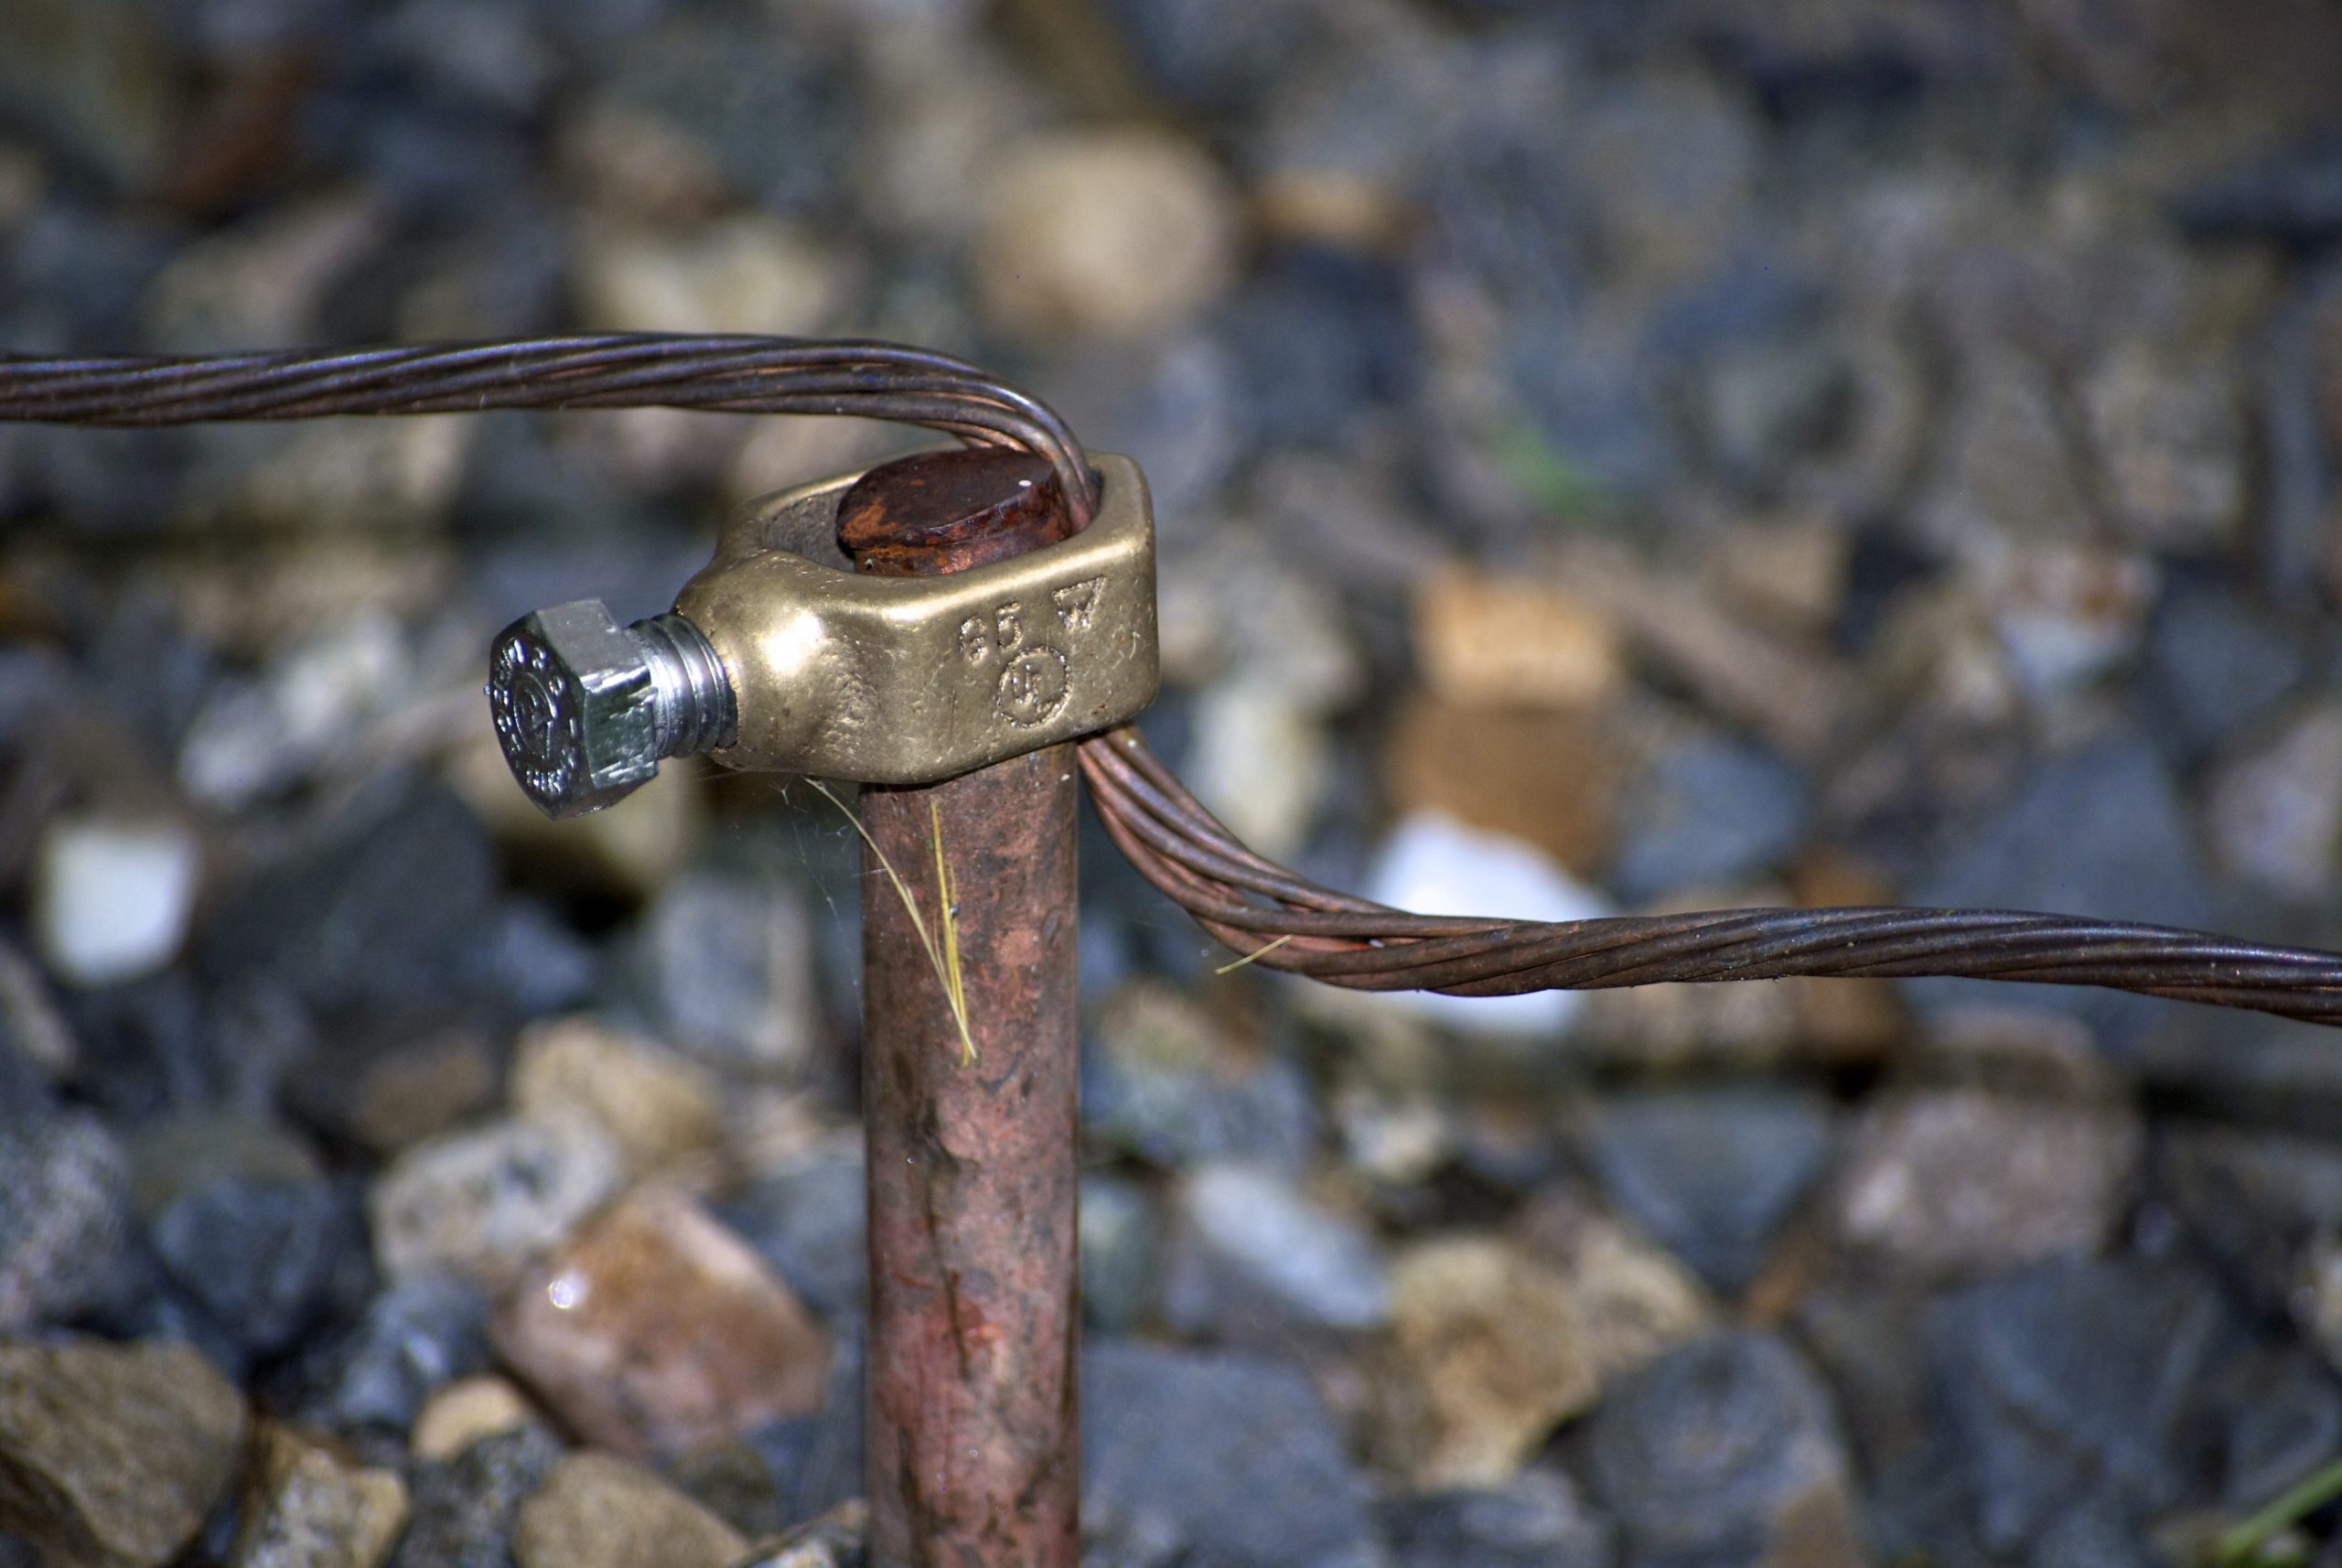
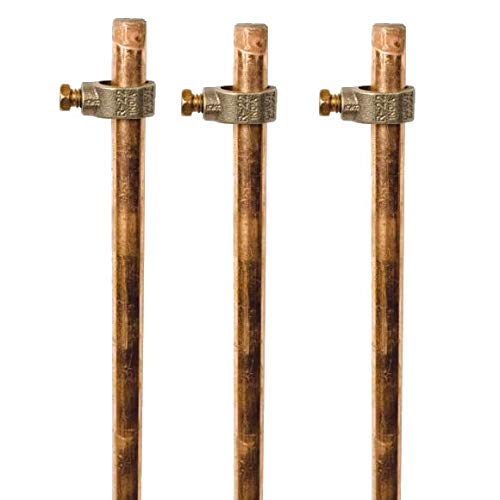
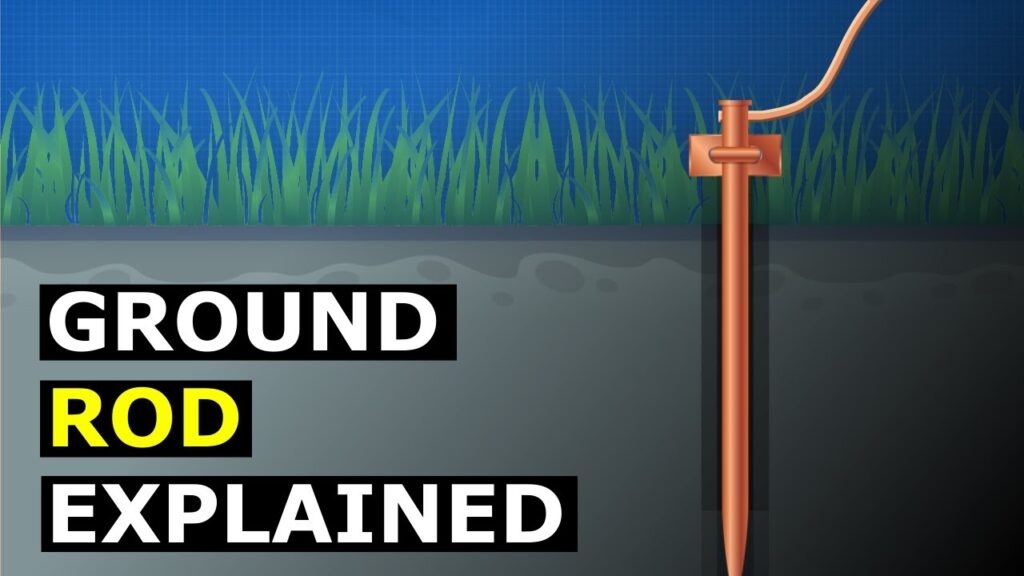
A ground rod is a metal rod driven into the ground to provide a path for electrical current. It ensures electrical safety by grounding electrical systems.
Ground rods are essential components in any electrical system. They help in preventing electrical hazards by providing a direct path to the earth for electrical currents. This grounding process protects both people and equipment from electrical surges and faults. Typically made of copper or galvanized steel, ground rods are driven into the soil to establish a strong electrical connection.
Proper installation and placement are crucial for their effectiveness. Electrical codes and regulations often dictate the specifications for ground rods to ensure safety and compliance. Regular inspection and maintenance of ground rods can further enhance their performance and reliability.
Importance Of Ground Rods
Ground rods are crucial for any electrical system. They ensure safe operation and protect equipment from electrical faults. This section covers why ground rods are essential for safety and system protection.
Safety Benefits
Ground rods provide a direct path for electrical current. This path allows excess electricity to flow safely into the ground.
By grounding your electrical system, you reduce the risk of electrical shocks. This is especially important during storms and power surges. Proper grounding can save lives.
Ground rods help in preventing electrical fires. Excess electricity will not build up and cause overheating. This makes your home or business much safer.
Electrical System Protection
Ground rods protect your electrical system from damage. They divert excess electricity away from sensitive equipment. This helps in prolonging the life of your electrical devices.
By grounding your system, you also protect against voltage spikes. These spikes can occur due to lightning or other electrical faults. Proper grounding ensures that these spikes do not damage your equipment.
Ground rods also help in maintaining system stability. They ensure that your electrical system operates smoothly. This stability is essential for both residential and commercial settings.
Summary Table Of Benefits
| Benefit | Description |
|---|---|
| Safety | Reduces risk of shocks and fires |
| Equipment Protection | Prevents damage from voltage spikes |
| System Stability | Ensures smooth operation |

Credit: m.youtube.com
Choosing The Right Ground Rod
Choosing the right ground rod is crucial for effective grounding. It ensures safety and reliability in electrical systems. A ground rod directs excess electricity safely into the earth. This guide covers the essential factors to consider when selecting a ground rod.
Material Options
Ground rods come in various materials. Each material has its benefits and limitations. Here are the common options:
- Copper-Bonded Steel: Offers high conductivity and corrosion resistance.
- Galvanized Steel: Cost-effective but less durable than copper.
- Stainless Steel: Provides excellent corrosion resistance but is more expensive.
| Material | Benefits | Limitations |
|---|---|---|
| Copper-Bonded Steel | High conductivity, Corrosion resistant | Higher cost |
| Galvanized Steel | Cost-effective | Less durable |
| Stainless Steel | Excellent corrosion resistance | More expensive |
Length And Diameter
The length and diameter of the ground rod affect its performance. A longer rod penetrates deeper into the earth. This provides better grounding. The most common lengths are 8 feet and 10 feet.
Diameter also matters. A thicker rod has less electrical resistance. Common diameters are 5/8 inch and 3/4 inch. Choose the size based on your specific needs and local regulations.
- 8 Feet: Standard length for many applications.
- 10 Feet: Better for areas with poor soil conductivity.
- 5/8 Inch: Suitable for most residential uses.
- 3/4 Inch: Ideal for commercial and industrial settings.
Always consult local codes before making a final decision. The right ground rod ensures a safe and effective electrical system.
Site Selection
Choosing the right site for a ground rod installation is crucial. The effectiveness of the grounding system depends heavily on the site selection. This section will guide you through the essential factors to consider.
Soil Conditions
Soil conditions play a significant role in the effectiveness of a ground rod. Different types of soil have varying levels of conductivity. Here are some key points to consider:
- Moisture Content: Wet soil conducts electricity better than dry soil.
- Soil Type: Clay and loam are better conductors than sandy or rocky soil.
- Temperature: Frozen soil has high resistance, affecting conductivity.
Testing soil resistance before installation can help ensure optimal placement. A soil resistance meter can be used for accurate measurements.
Proximity To Buildings
The location of the ground rod relative to buildings is essential. Here are some guidelines:
- Distance: Place the ground rod at least 6 feet away from the building.
- Utilities: Avoid areas with underground utilities like water pipes and electrical lines.
- Accessibility: Ensure the rod is in an accessible location for maintenance.
Placing the rod too close to buildings can cause potential interference. It’s crucial to balance proximity and safety.
| Factor | Recommendation |
|---|---|
| Moisture Content | Higher moisture levels are better |
| Soil Type | Clay and loam preferred |
| Temperature | Avoid frozen soil |
| Distance from Buildings | At least 6 feet away |
| Proximity to Utilities | Avoid underground utilities |
Ensuring proper site selection can lead to a more effective grounding system. This can prevent electrical failures and ensure safety.

Credit: empoweringmichigan.com
Installation Tools And Equipment
Installing a ground rod requires specific tools and equipment. Having the right tools ensures a safe and efficient installation process. Below is a detailed guide on essential tools and safety gear needed for ground rod installation.
Essential Tools
Using the right tools is crucial for a successful ground rod installation. Here are the essential tools:
- Ground Rod Driver: A specialized tool for driving the rod into the ground.
- Sledgehammer: Used for manually driving the rod if a driver is unavailable.
- Shovel: For digging the initial hole where the rod will be placed.
- Measuring Tape: Ensures the rod is installed at the correct depth.
- Wrench: Tightens the clamps to secure the grounding wire to the rod.
Safety Gear
Safety gear is essential to protect yourself during the installation. Here is a list of necessary safety gear:
- Safety Glasses: Protects your eyes from debris.
- Gloves: Provides a firm grip and protects your hands.
- Hard Hat: Shields your head from any falling objects.
- Steel-Toe Boots: Protects your feet from heavy tools or materials.
- Ear Protection: Guards your ears from loud noises during installation.
Ensure all tools and safety gear are in good condition before starting. Proper preparation and the right equipment make the installation process smoother and safer.
Step-by-step Installation
Installing a ground rod is essential for electrical safety. Follow these simple steps to ensure a proper installation. This guide will help you prepare the site and drive the rod efficiently.
Preparing The Site
Before installing the ground rod, select the right location. Choose a spot with good soil conductivity, away from underground utilities. Use a utility locator to identify any hidden pipes or cables.
Next, gather your tools and materials. You will need:
- Ground rod (copper or galvanized steel)
- Sledgehammer or ground rod driver
- Shovel or post-hole digger
- Water (to soften the ground, if necessary)
- Wire clamps and grounding wire
Clear the area of debris and vegetation. Ensure the ground is moist. If the soil is dry, pour water to make driving the rod easier.
Driving The Rod
Place the ground rod upright in the chosen spot. Start by driving the rod into the ground using a sledgehammer or ground rod driver. Use steady, firm strikes to avoid bending the rod.
If the soil is hard, add water to soften it. Continue driving the rod until only 6-12 inches remain above ground. This ensures a secure connection and optimal conductivity.
Once the rod is in place, attach the grounding wire using wire clamps. Ensure a tight connection for effective grounding. Finally, cover the exposed part of the rod with soil for added protection.
By following these steps, you can install a ground rod safely and effectively. Proper grounding protects your electrical systems and enhances safety.
Connecting To The Electrical System
Connecting a ground rod to your electrical system ensures safety. This process protects your home from electrical faults and surges. Proper connection is crucial for effective grounding.
Bonding Techniques
Bonding involves connecting metal parts to form a continuous path. This path helps in carrying any fault current safely to the ground. There are various bonding techniques for different systems.
- Exothermic Welding: This method uses a chemical reaction to bond metals.
- Mechanical Bonds: These bonds use bolts, nuts, and clamps for connection.
- Compression Connectors: These connectors use pressure to join metal parts.
Each technique has its benefits and applications. Choose the method that best suits your electrical system.
Using Ground Clamps
Ground Clamps are essential for a secure connection. They attach the ground wire to the ground rod. Proper installation of ground clamps ensures a strong and stable connection.
| Type | Material | Usage |
|---|---|---|
| Acorn Clamps | Brass or Bronze | Used for direct burial in the ground |
| Split Bolt Clamps | Copper | Used for connecting wires to rods |
| Pipe Clamps | Galvanized Steel | Used for pipe grounding |
Ensure all connections are tight and secure. Loose connections can lead to safety hazards. Regularly inspect clamps to maintain a safe electrical system.
Testing Ground Resistance
Testing ground resistance ensures the safety and efficiency of electrical systems. This process detects how well the ground rod dissipates electrical currents into the earth. A reliable ground system is crucial for preventing electrical hazards and equipment damage.
Testing Methods
There are various methods to test ground resistance. Here are three common methods:
- Fall-of-Potential Method: This method uses three electrodes to measure resistance.
- Clamp-on Method: This method is quick and non-intrusive. It uses a clamp-on meter.
- Soil Resistivity Testing: This method evaluates the resistivity of the soil. It helps design an effective grounding system.
Interpreting Results
Once you have the test results, interpreting them is crucial. Here are key points to consider:
- Acceptable Resistance Levels: Ideally, ground resistance should be below 5 ohms. This ensures safety and efficiency.
- High Resistance Indicators: High resistance may indicate poor soil conditions or faulty connections.
- Consistent Testing: Regular testing helps maintain a reliable grounding system.
Keep a record of all test results. This helps track changes over time and identify potential issues early.
Maintenance And Inspection
Regular maintenance and inspection of your ground rod are essential for safety and functionality. Ensuring that your grounding system works properly protects your electrical systems. Below, we’ll cover routine checks and troubleshooting issues.
Routine Checks
Routine checks help identify potential problems early. Follow these steps for effective maintenance:
- Inspect the ground rod visually for any signs of corrosion.
- Ensure the ground rod is securely connected to the grounding wire.
- Check for any loose connections that may affect performance.
Use a multimeter to measure the resistance of the ground rod. This should be below 25 ohms. If not, it may need replacement.
Troubleshooting Issues
If you encounter problems, follow this troubleshooting guide:
- Check for physical damage to the ground rod.
- Ensure all connections are tight and secure.
- Test the resistance again using a multimeter.
- Look for signs of corrosion or rust.
If issues persist, consider consulting a professional. Regular maintenance ensures your ground rod functions effectively, keeping your electrical systems safe.

Credit: empoweringmichigan.com
Frequently Asked Questions
What Does A Grounding Rod Do?
A grounding rod protects buildings by directing excess electrical energy safely into the earth. It prevents electrical shocks and fires.
How Deep Does A Grounding Rod Need To Be?
A grounding rod needs to be at least 8 feet deep. Ensure it reaches moist soil for effective grounding.
Can I Install A Ground Rod Myself?
Yes, you can install a ground rod yourself. Ensure you follow local codes and safety guidelines. Use proper tools and techniques.
Where Should A Grounding Rod Be Placed?
Place the grounding rod near the electrical panel. Ensure it’s at least 8 feet deep in moist soil. Avoid dry, sandy, or rocky areas.
Conclusion
Ensuring proper installation of a ground rod is essential for electrical safety. It protects both people and equipment. Regular inspections and maintenance can extend its lifespan. With these tips, you can achieve a reliable grounding system. Stay safe and maintain your ground rod efficiently for optimal performance.

